RMON Configuration
To monitor switches with the RMON protocol, you will need to configure each port to collect statistics and store the data in a local history table.
The configuration is similar for many switch vendors. We will explain the basic setup for two widely adopted Cisco switches, one with a CLI and another with a graphical user interface.
Cisco 2960-X
- Connect to the switch via Telnet or SSH
- Login (default password:
cisco) - Enable the configuration mode (default password:
cisco):
2960>Enable
After you have successfully logged in, you will see the following prompt:
2960#
- You need to enable RMON for each port you would like to monitor. For doing so, you need to execute the following commands:
configure terminal
interface [interface name]
rmon collection history [rmon id] buckets 1 interval [interval]
Interface Name: Full interface name (e.g. FastEthernet0/1)
ID: Interface index used in RMON history table. We suggest using the interface (port) number as ID.
Interval: The sampling interval in seconds
- Repeat step 4 for every port you’d like to monitor.
- When you are done with the configuration, enter
end. - You can verify the configuration with the following command:
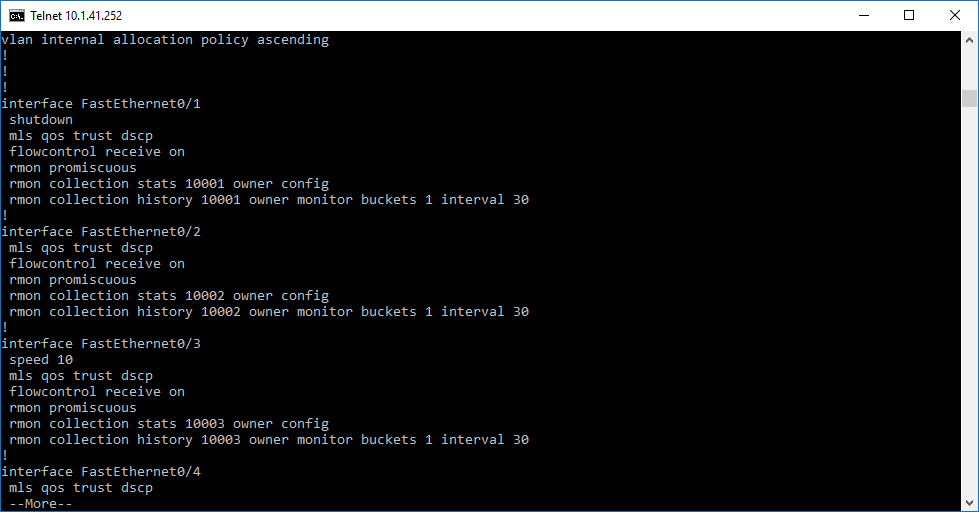
show running-config
This command will show an output similar to the screen on the following page:

- To save the configuration, don’t forget to enter the following command:
copy running-config startup-config
Cisco SG300
-
The configuration of an SG300 is possible via its web interface. Default username and password is
cisco/cisco. -
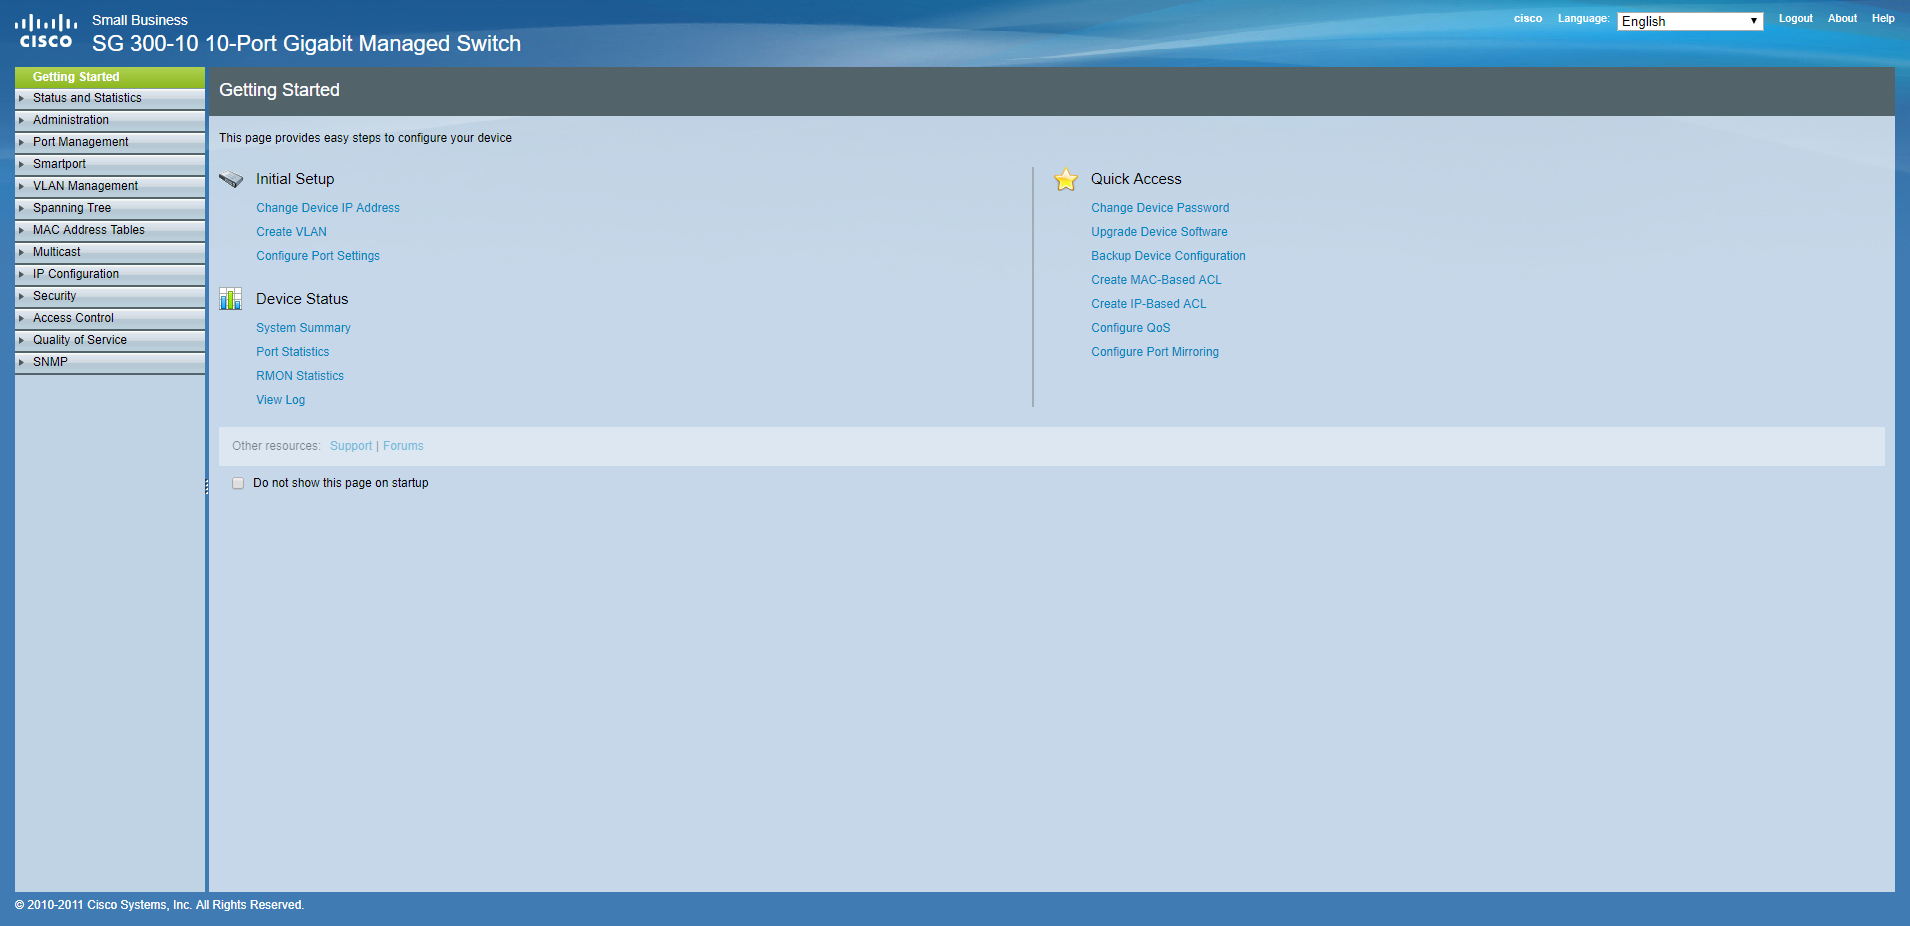
After the login, you can see the following screen:

-
Access the RMON configuration by navigating to Status and Statistics > RMON > History.
-
The history control table will be empty at this time, so you will need to add interfaces first.
-
Click on the Add button. The following form will open in a new window:

-
Enter the port index (usually identical to the interface number), as well as the sampling interval. Make sure to set Max No. of Samples to Keep to 1 (you only need the latest measurement.
-
Repeat step 5 and 6 for every interface you’d like to monitor.
-
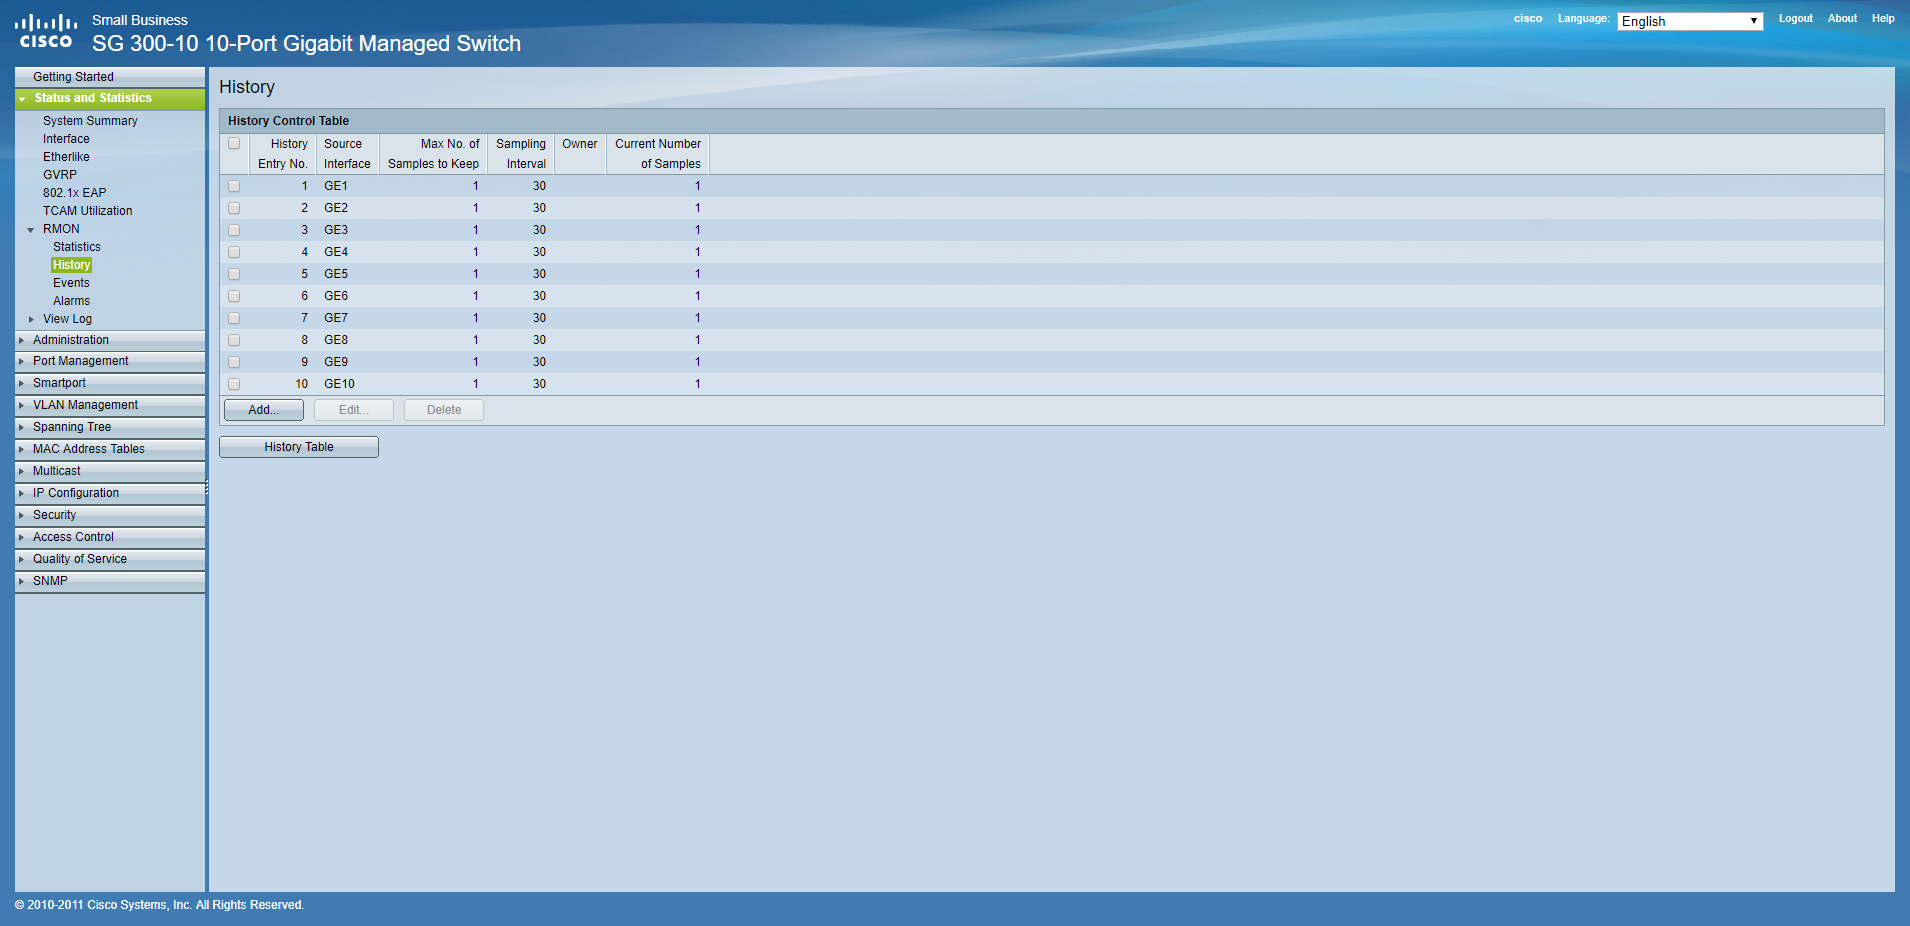
After those steps, your configuration should look similar to this:

-
Click on the blinking save button on the top right section of the screen to save the config.
-
You’re ready to monitor your switch via RMON! To do so, add RMON triggers for this device.